
User Guide / Getting started
Set up your shop details
Your business details, receipt text, VAT and registers.
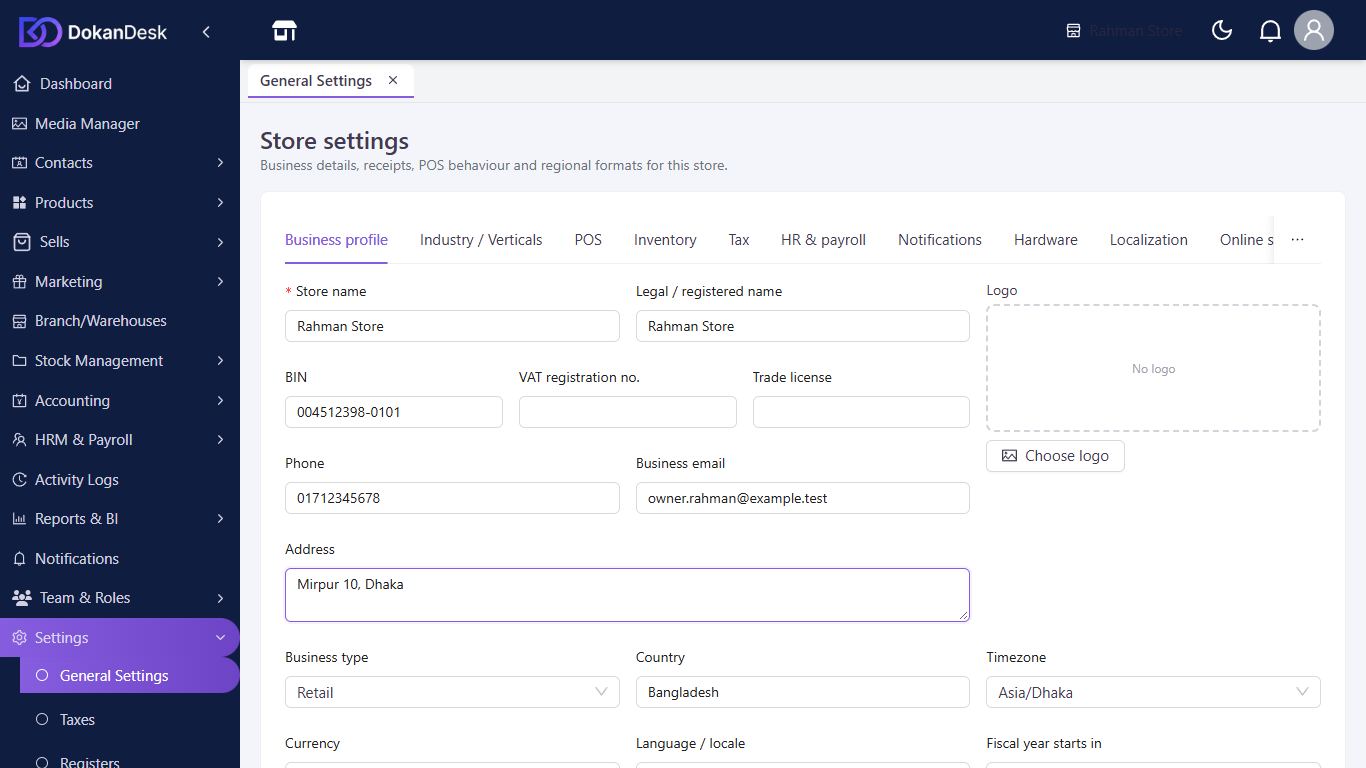
Fill in your business profile
Open Settings, then General Settings. On Business profile, enter your store name, BIN, phone and address, and upload your logo. Receipt header and Receipt footer print on every receipt. Click Save business profile.
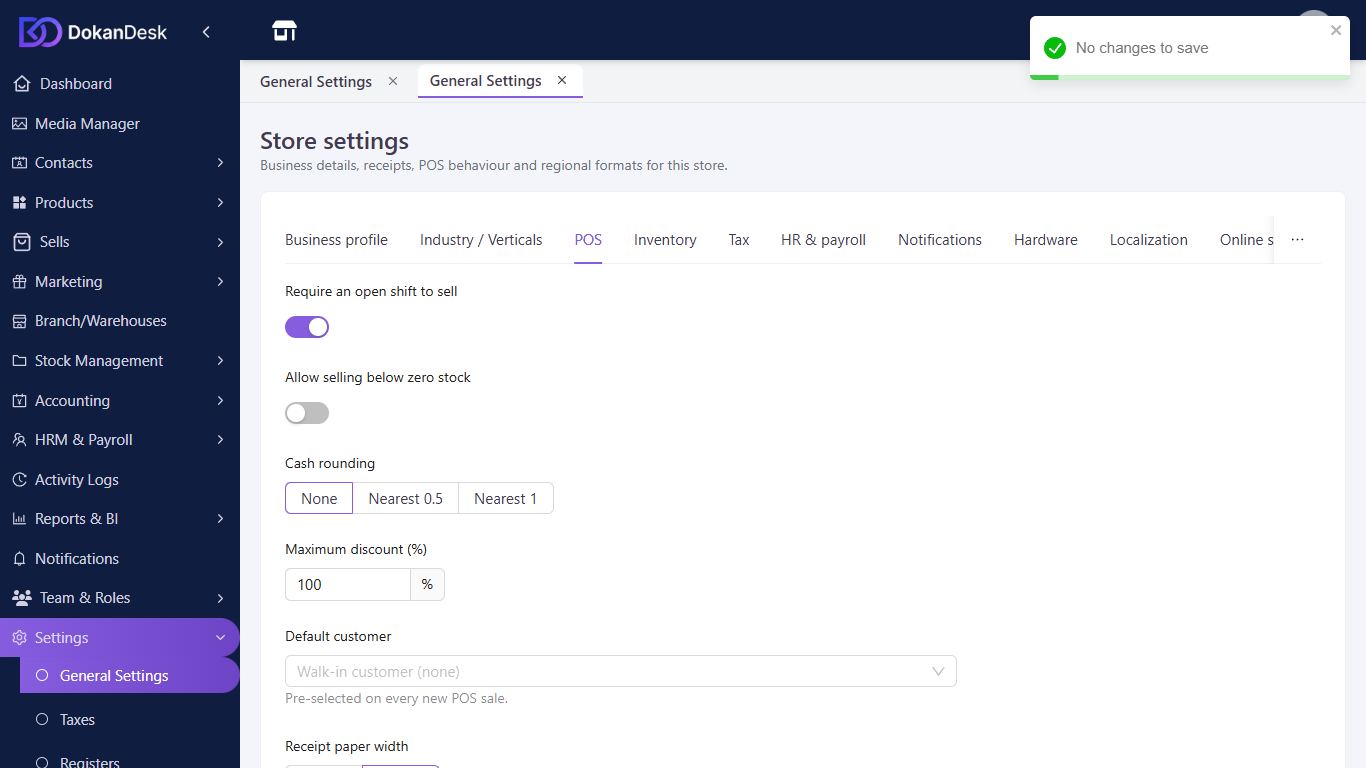
Choose how the POS works
On the POS tab, set Receipt paper width, Maximum discount (%), Return window (days) and whether a receipt prints by itself after a sale. Click Save.
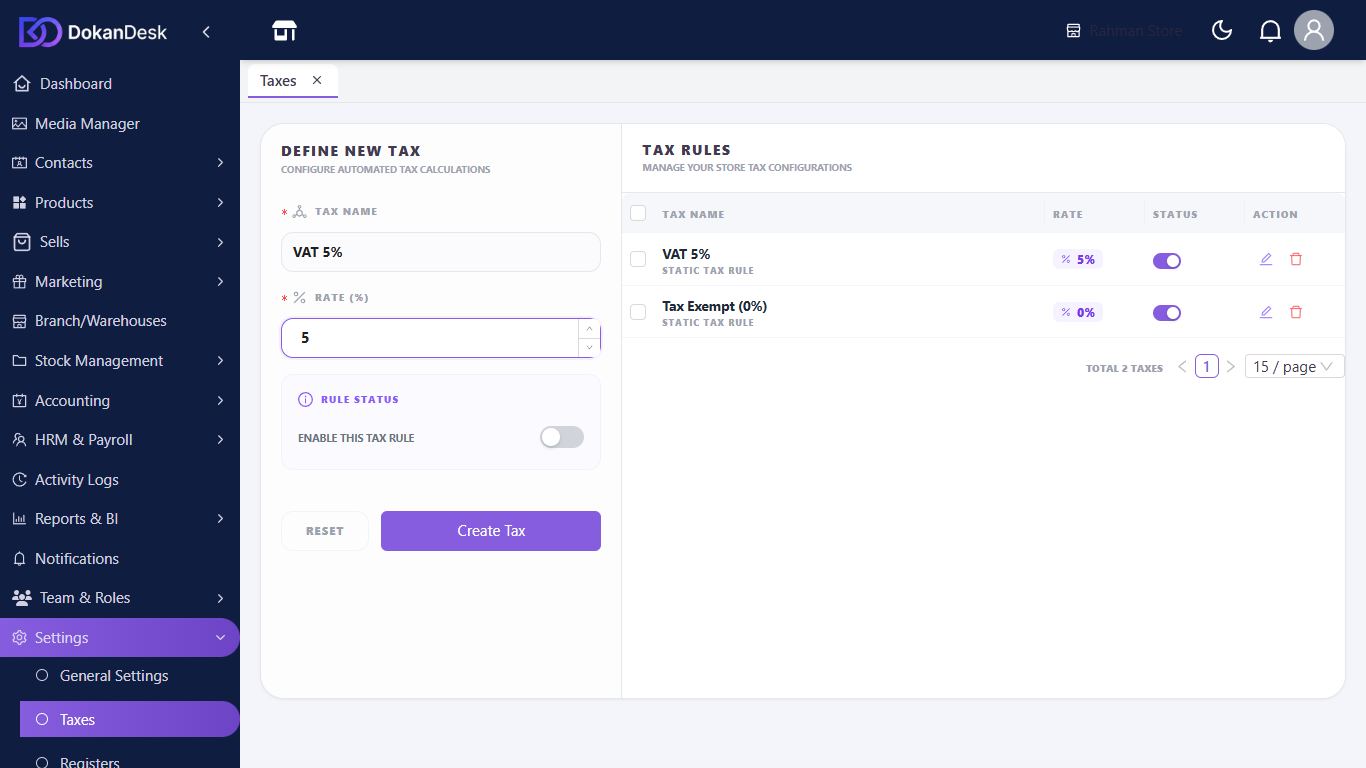
Add your VAT rates
Open Settings, then Taxes. Enter a Tax Name and Rate (%), turn on Enable this tax rule and click Create Tax.
Say how prices include VAT
Back in General Settings, open the Tax tab. Turn on Product prices include tax (VAT inclusive) if your shelf prices already include VAT, and choose a Default tax.
Add registers if you need them
A register is one till. Open Settings, then Registers, and click New register to add a till to a branch. If you skip this, one is made when you open your first shift.
Good to know
- Changing these settings needs the Manage settings permission.
Pictures come from a sample shop. Your screen may differ slightly depending on your plan and permissions.
Still stuck? Tell us what happened and we'll help. Contact us